

Stuck in a Sticky Situation? How to Fix a Zipper That Won't Zip
Don't let a stubborn zipper ruin your day. Try these easy solutions to get your zipper moving smoothly again.

Are you tired of struggling with a zipper that just won't budge? Whether it's a stubborn jacket zipper or a stuck backpack zipper, a zipper that won't zip can be frustrating and inconvenient. But fear not! With a few simple hacks, you can get that zipper moving again in no time. Here's how:
- Clean the zipper: The first step to fixing a sticky zipper is to clean it. Dirt, debris, and even sweat can build up on the zipper teeth and make them hard to move. Use a toothbrush and some soapy water to clean the zipper teeth and tape. Be sure to rinse off any soap residue and let the zipper dry completely before attempting to use it again.
- Lubricate the zipper: If cleaning the zipper doesn't work, try lubricating it. Beeswax, candle wax, or silicone spray can all be used to help the zipper teeth slide more easily. Apply a small amount of the lubricant to the zipper teeth and move the zipper up and down to distribute it evenly. Be careful not to over-apply the lubricant, as this can cause the zipper to become too slippery and come undone.
- Use a pencil or soap: If you don't have any lubricant on hand, try rubbing the graphite from a pencil or a bar of soap onto the zipper teeth. This will act as a dry lubricant and help the zipper move more smoothly.
- Heat the zipper: If the zipper is made of metal, you can try heating it up to help it expand and become easier to move. Use a hairdryer or a warm cloth to heat the zipper, being careful not to overheat it and cause damage.
- Adjust the slider: If the slider is too loose or too tight, it can cause the zipper to stick. Use a pair of pliers or a pair of tweezers to gently adjust the slider so that it fits more snugly on the zipper teeth. Be careful not to apply too much pressure and damage the slider or the teeth.
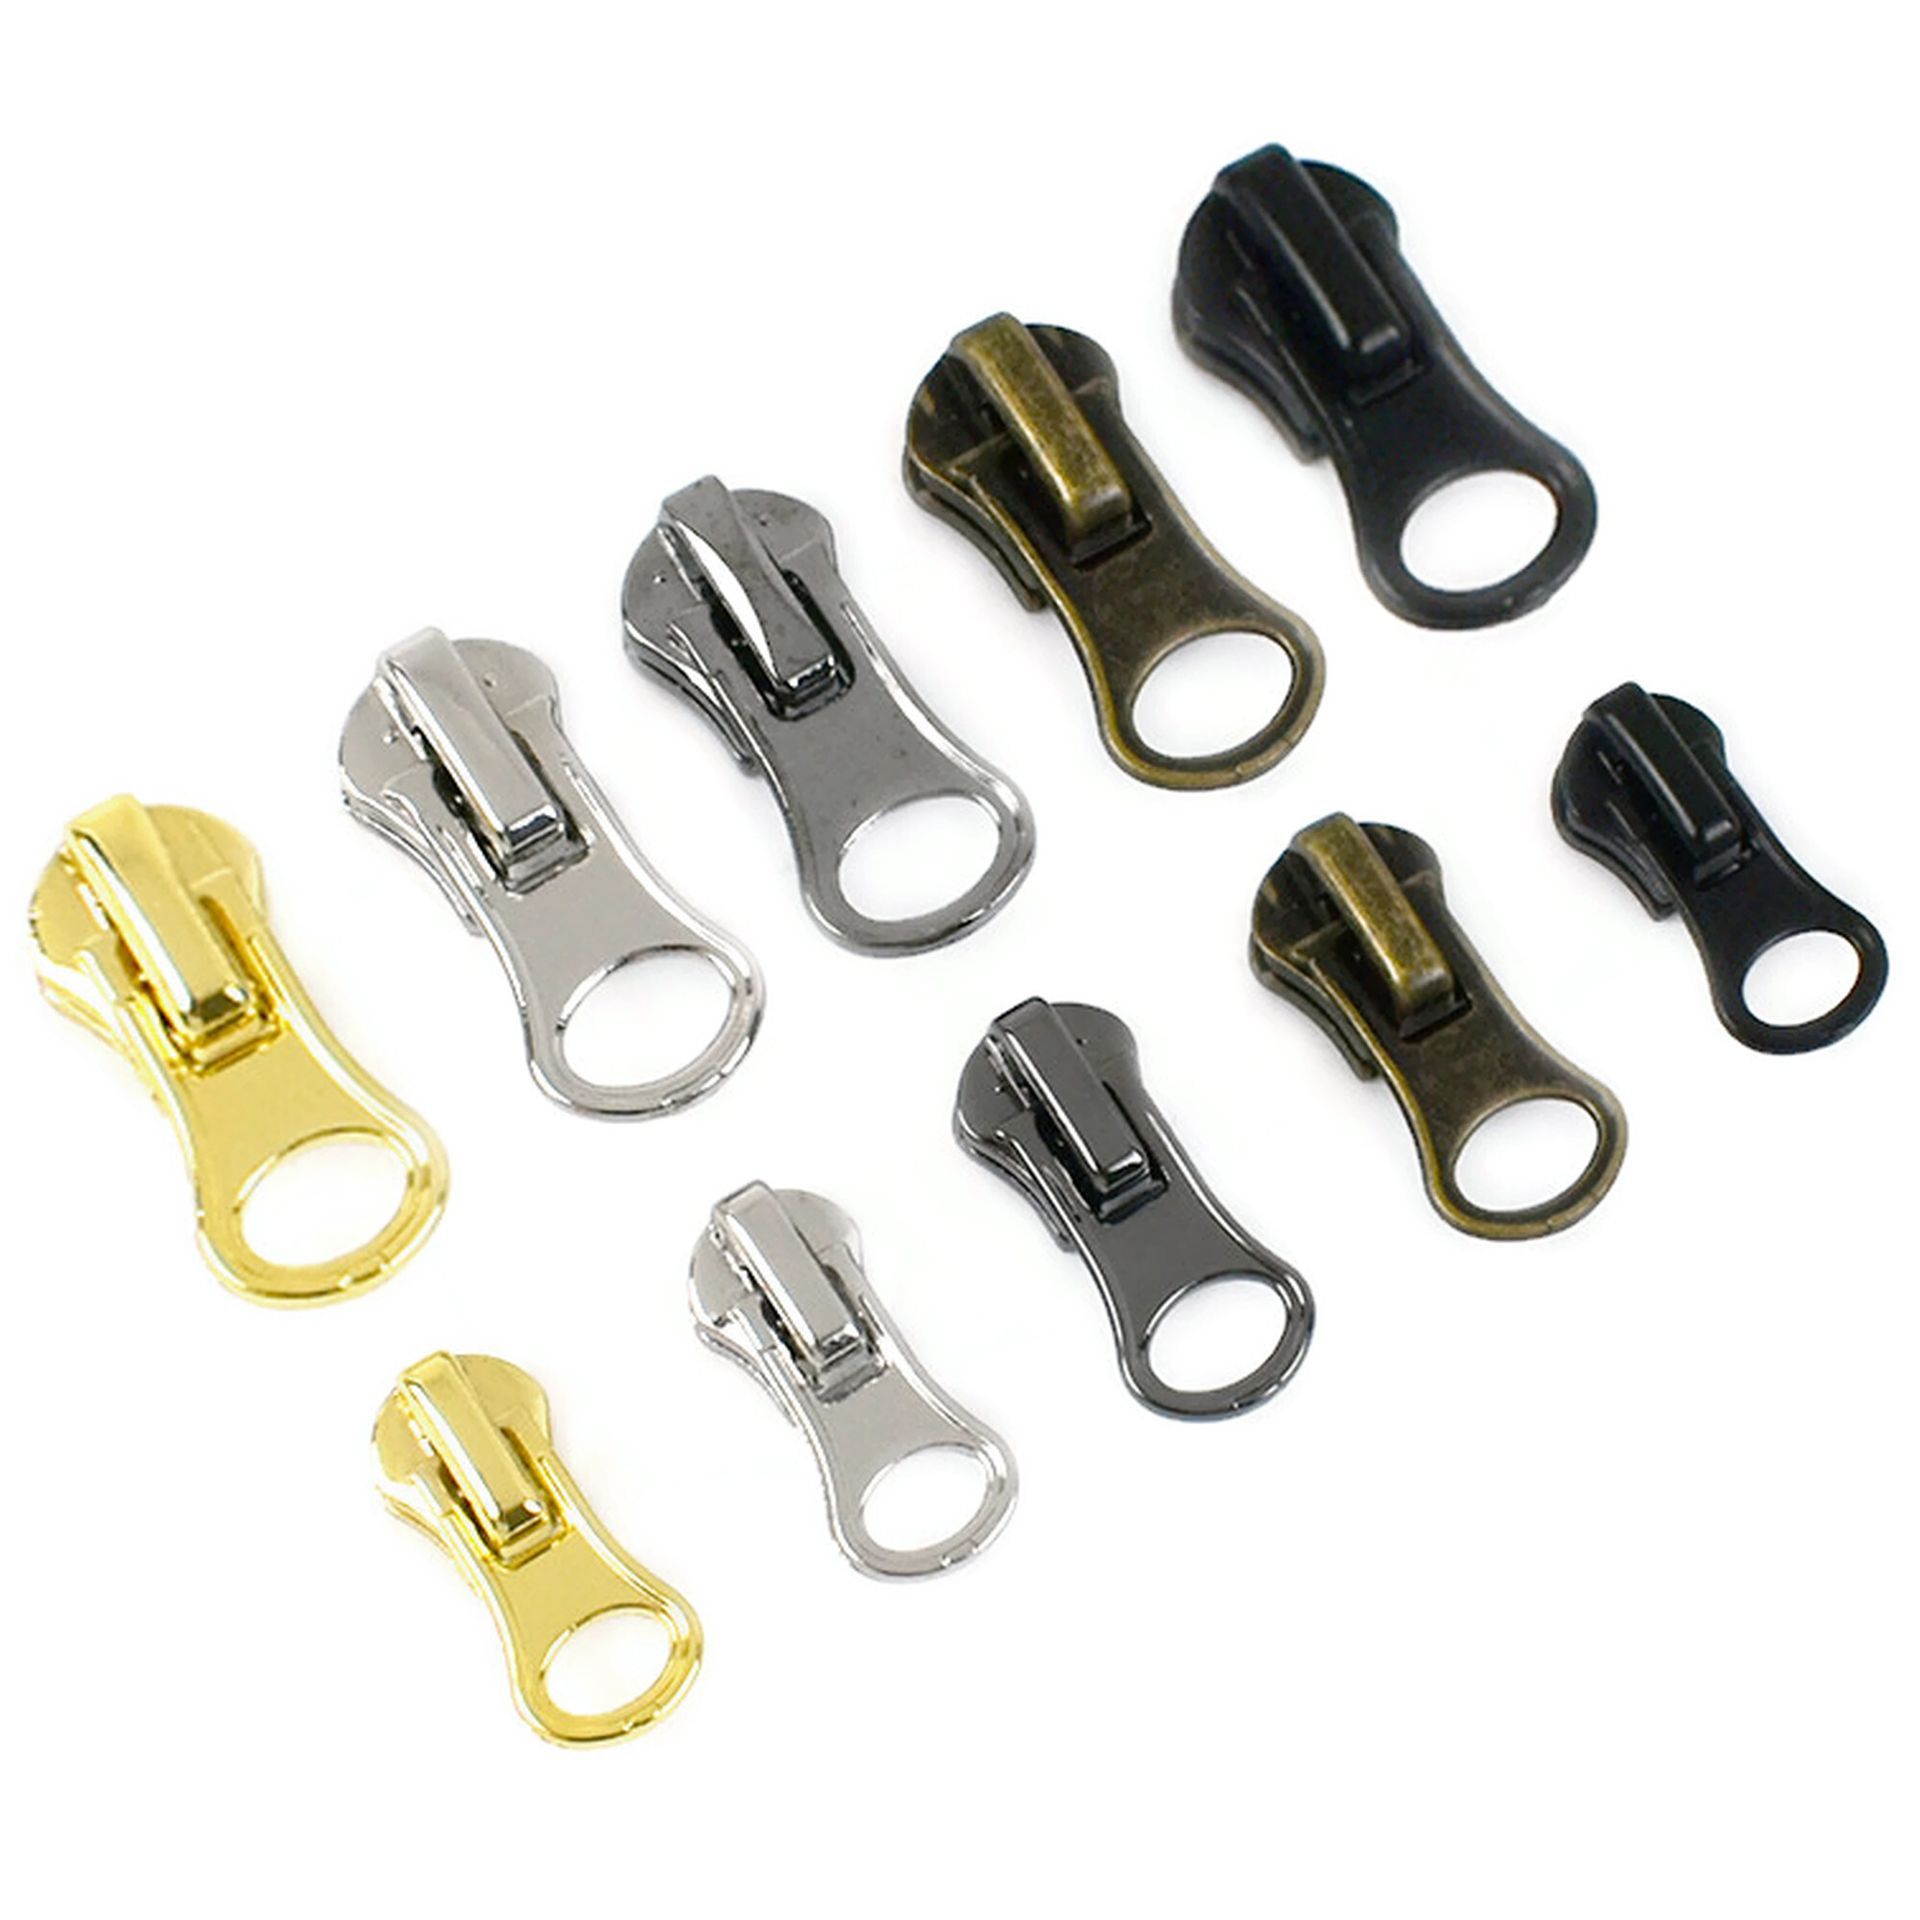
- Replace the slider: If the slider is damaged or broken, it will need to be replaced. Remove the old slider by gently prying it off the zipper teeth with a pair of pliers, then slide a new slider onto the teeth in the same direction as the old one. Be sure to choose a slider that matches the size and type of your zipper.
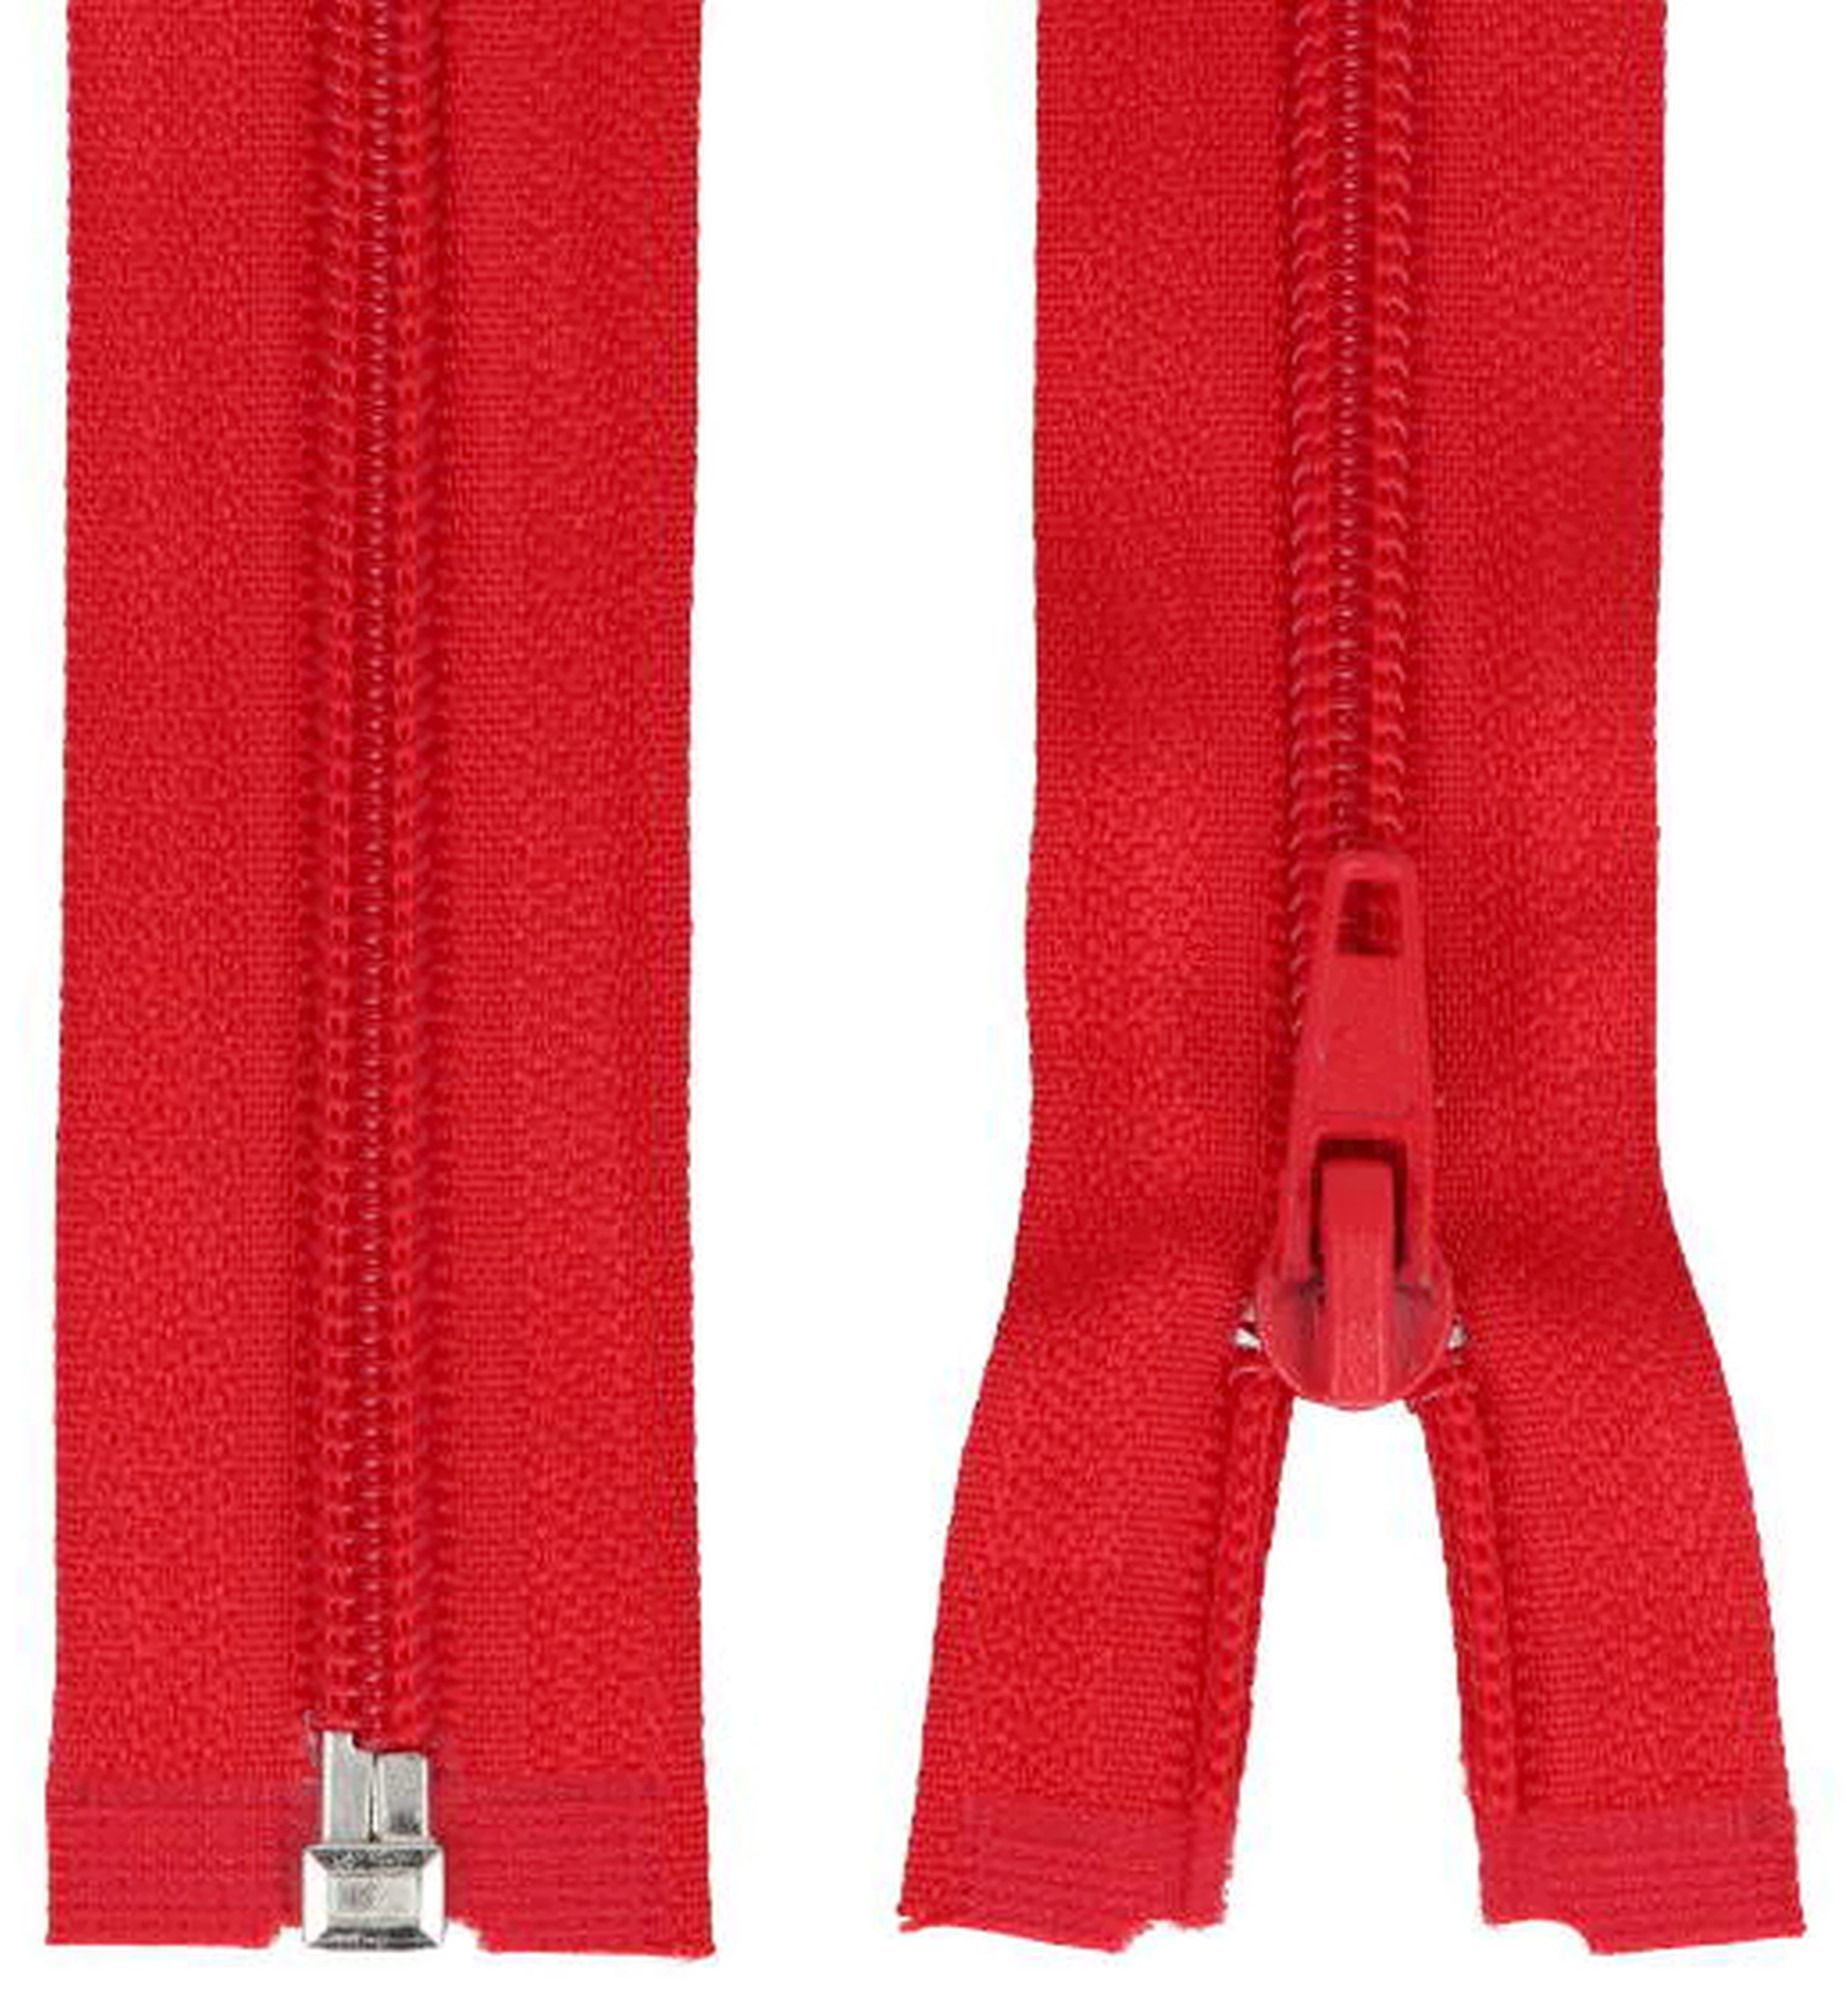
- Replace the zipper: If all else fails, it may be time to replace the entire zipper. This can be a bit more involved, but with some basic sewing skills and a replacement zipper, you can have your item back in working order in no time.
Don't let a sticky zipper get you down. With these simple hacks, you can get your zipper moving smoothly again in just a few minutes. And if you need a replacement zipper or slider, check out our selection of high-quality zippers and zipper accessories on our website. Happy zipping!
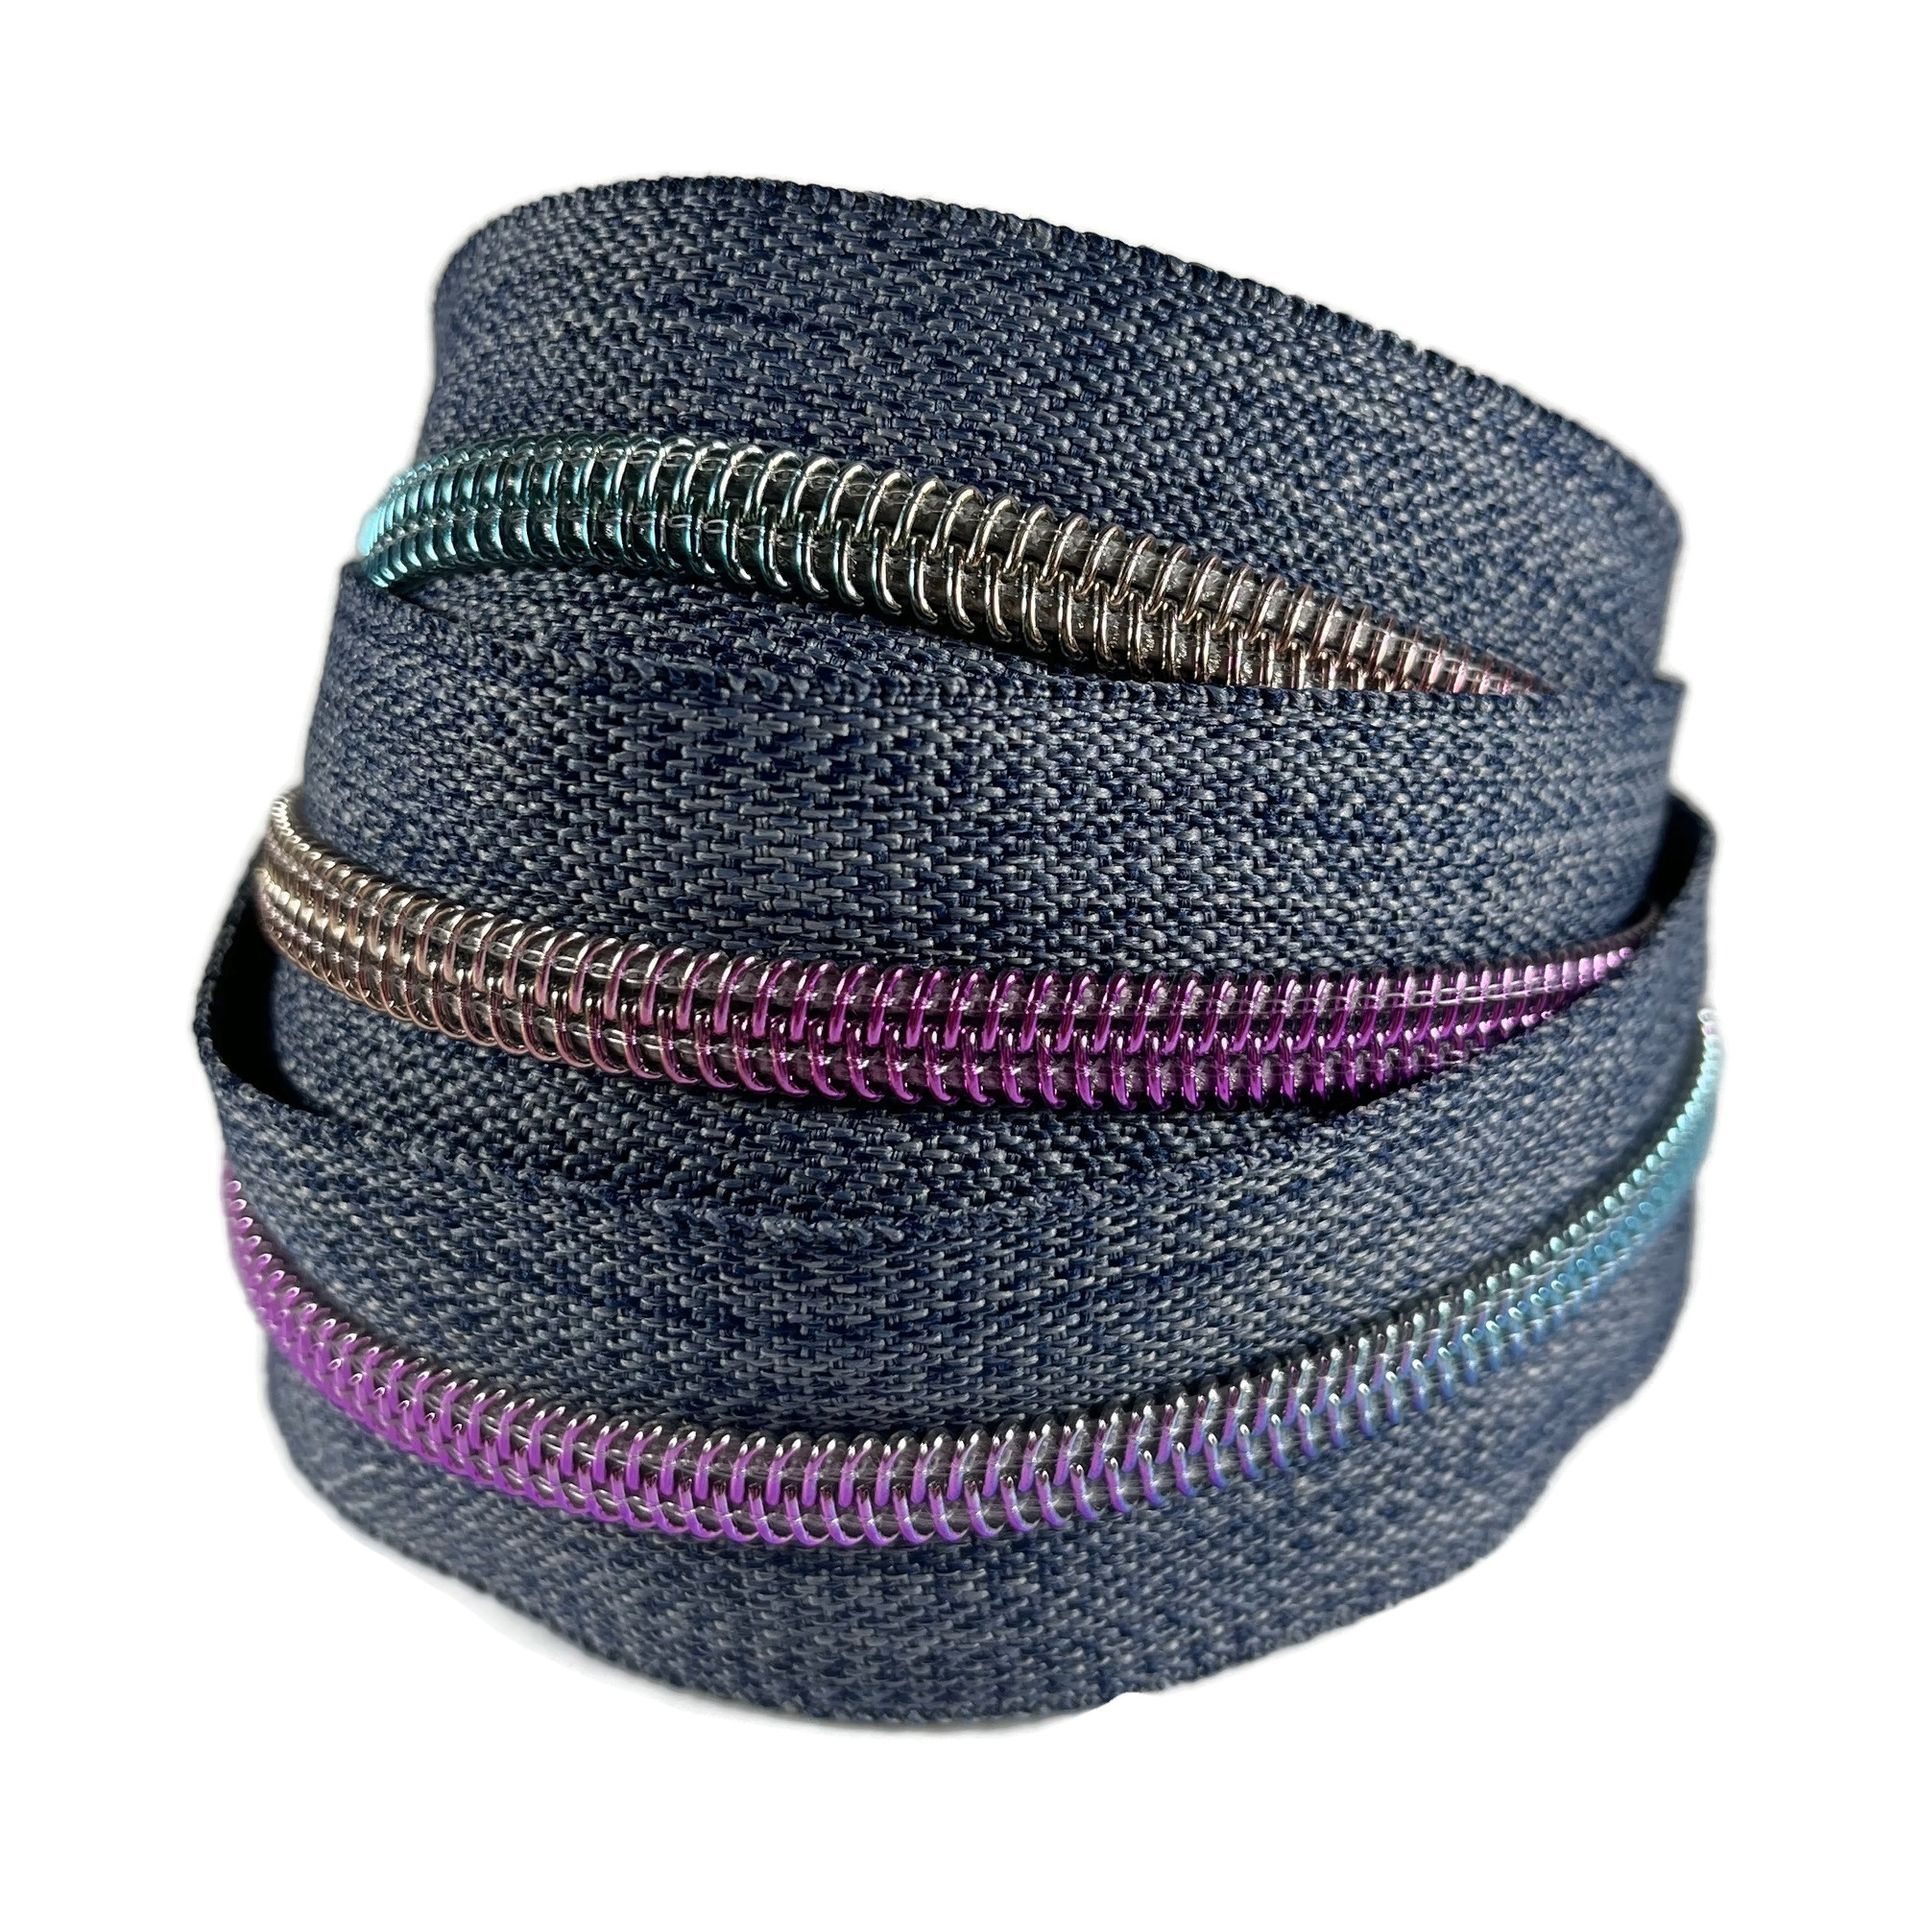
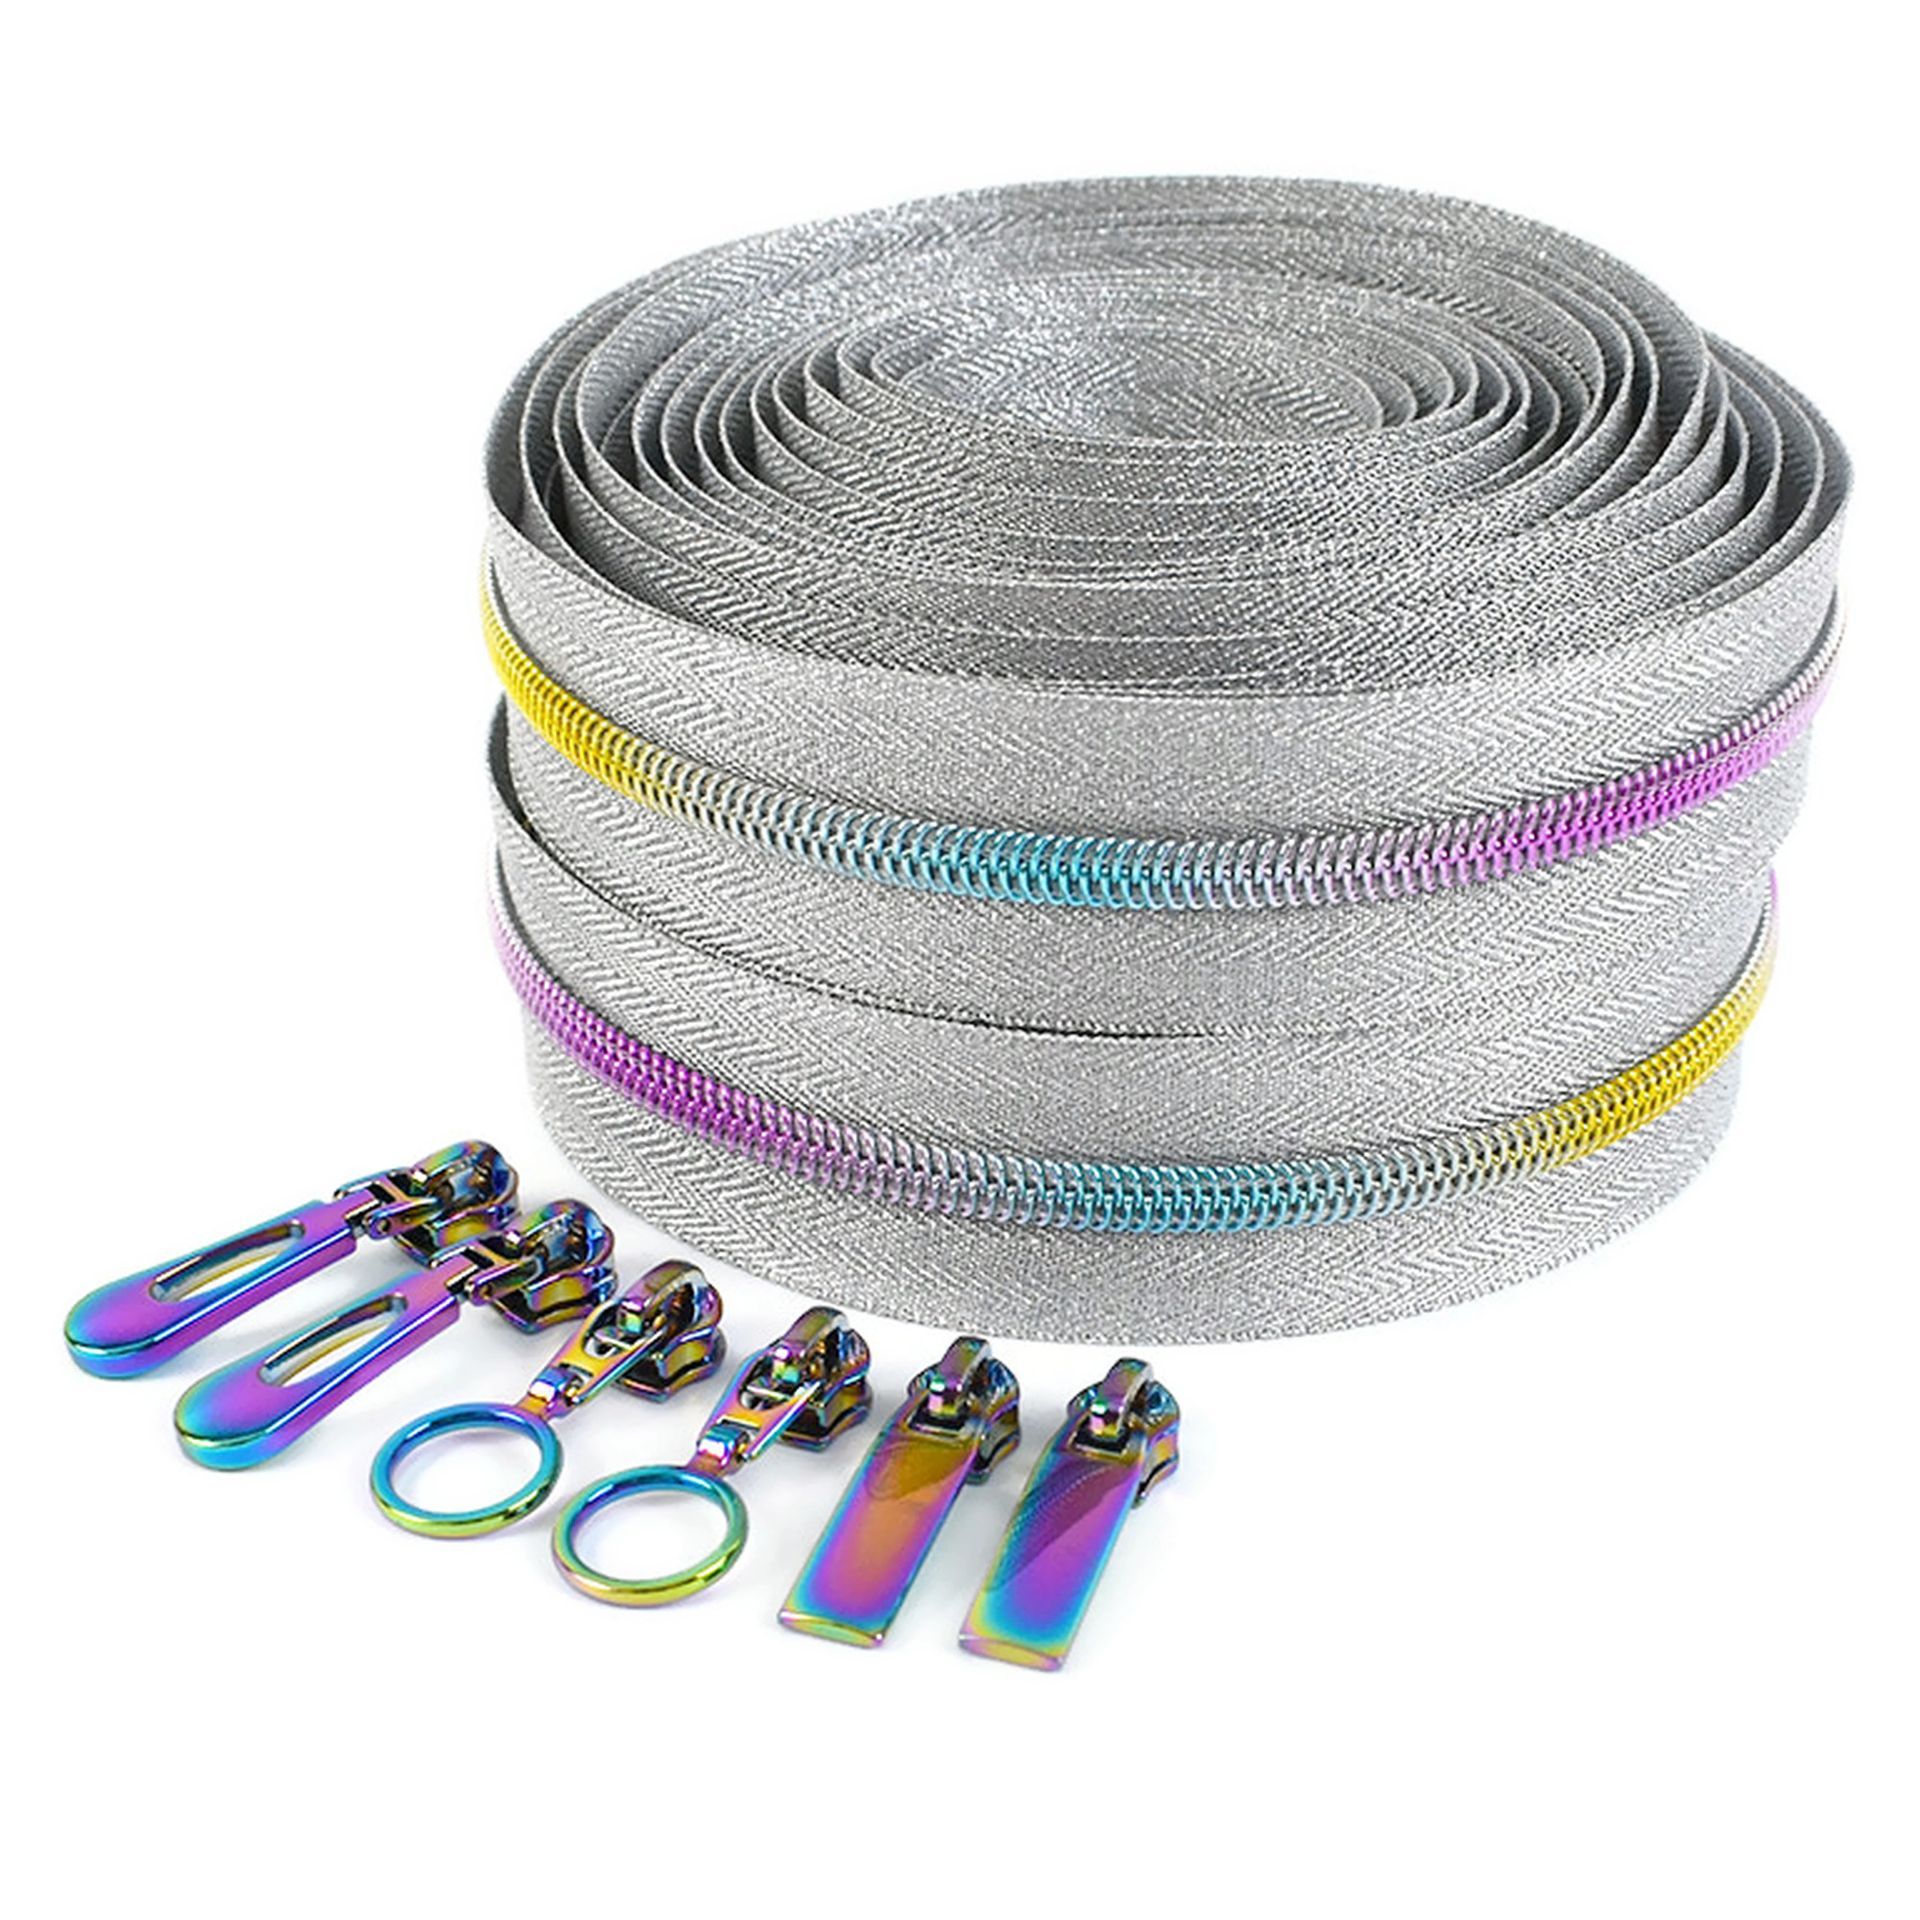
When it comes to bag making , choosing the right materials is essential. Among these, nylon coil zips are a popular and versatile choice, offering durability, flexibility, and style. Whether you are an experienced bag maker or a beginner, understanding the characteristics, benefits, and uses of nylon coil zips can elevate your projects to the next level. This article delves deep into the features, types, and tips for using nylon coil zips in bag making, ensuring your creations are not only functional but also visually appealing. What Are Nylon Coil Zips? Nylon coil zips, often referred to as nylon zippers , are a type of zipper with teeth made from coiled nylon filament. Unlike metal or moulded plastic zippers, the teeth of nylon coil zips are flexible and lightweight, making them ideal for applications requiring smooth operation and adaptability. Key Characteristics of Nylon Coil Zips Durability : The coiled nylon teeth are resistant to wear and tear, making them perfect for daily-use bags. Flexibility : Their soft and pliable design ensures they can curve seamlessly, suitable for designs with rounded edges. Variety of Sizes : Available in a range of widths, from delicate #3 zippers for small pouches to sturdy #5 and #10 zippers for heavy-duty bags. Colour Options : Nylon coil zips come in a spectrum of colours, allowing for perfect coordination with fabrics. Ease of Use : They are easy to sew into projects, whether by hand or machine. Why Nylon Coil Zips Are Perfect for Bag Making Versatility in Design Nylon coil zips can adapt to various bag styles, from compact clutches to large travel duffels. Their flexibility makes them an excellent choice for: Backpacks : Offering durability to withstand heavy loads. Handbags and Totes : Adding a sleek, professional finish. Cosmetic and Toiletry Bags : Resistant to moisture, ensuring contents stay protected. Laptop Sleeves : Providing a secure yet smooth closure. Durability for Everyday Use Bags often endure significant strain, especially at the zipper area. Nylon coil zips are designed to handle frequent usage without compromising functionality. Their robust coil teeth can withstand pulling and tugging, ensuring longevity. Aesthetic Appeal With the ability to match zippers to fabric or thread, nylon coil zips offer a polished, cohesive look. Invisible nylon coil zips are also an option for those who want a concealed closure. Types of Nylon Coil Zips for Bag Making Closed-End Nylon Coil Zips These zips have a stopper at the end, preventing the slider from detaching. They are ideal for pockets, small pouches, and fixed closures. Open-End Nylon Coil Zips Designed for applications where the zip needs to separate completely, such as jackets or expandable bags. Continuous Nylon Coil Zips These are long zipper tapes without pre-attached sliders, allowing you to cut the desired length. Continuous zippers are cost-effective and versatile for large projects. Tips for Using Nylon Coil Zips in Bag Making Selecting the Right Size The size of the zipper is determined by the width of its coil. Use: #3 Zippers for lightweight bags and interior pockets. #5 Zippers for handbags, totes, and medium-sized bags. #10 Zippers for heavy-duty duffels and travel bags. Preparing the Zipper Trim the zipper tape to the required length if using a continuous zipper. Apply a small amount of fabric glue to prevent fraying at the edges. Test the slider to ensure smooth movement before sewing. Sewing Techniques Use a zipper foot on your sewing machine for precise stitching. Secure the zipper with basting tape or pins before stitching to avoid misalignment. For curved edges, snip small notches into the zipper tape to allow it to bend smoothly. Adding Reinforcements Reinforce the ends of the zipper with bar tacks to enhance durability, especially for bags carrying heavy loads. Common Problems and Solutions When Using Nylon Coil Zips Problem: Slider Sticks or Catches Solution : Apply a small amount of zipper lubricant or wax along the coil for smoother operation. Problem: Fraying Zipper Tape Solution : Seal the raw edges with a lighter or fabric glue to prevent unraveling. Problem: Misaligned Zipper Installation Solution : Use washable markers to mark alignment points before sewing. Innovative Uses of Nylon Coil Zips in Bag Making Beyond standard closures, nylon coil zips can be used creatively: Decorative Elements : Brightly colored zippers can double as accents or trim. Expandable Compartments : Add zippers to create adjustable sections in bags. Hidden Pockets : Incorporate invisible zippers for secret compartments. Caring for Bags with Nylon Coil Zips To extend the life of your nylon coil zippers: Clean Regularly : Wipe down with a damp cloth to remove dirt and debris. Avoid Overloading : Excessive strain can damage the zipper teeth or slider. Lubricate Occasionally : A dab of silicone lubricant keeps zippers running smoothly. Conclusion Incorporating nylon coil zips into your bag-making projects offers unparalleled versatility, durability, and style. From their flexible design to their wide range of applications, nylon coil zips are an indispensable tool for crafters and professionals alike. By selecting the right type and mastering sewing techniques, you can create bags that are both functional and visually stunning.

Learn the Proper Techniques for Measuring and Shortening Open-End and Closed-End Zippers to Ensure Perfect Fit Every Time
The Ins and Outs of Continuous Zippers
A Step-by-Step Guide to Identifying Your Zipper Type and Size
Everything You Need to Know About the Different Zipper Sizes